Building a gaming PC can seem daunting, but with the right guidance, you can create a custom machine that meets your gaming needs. Whether you’re a casual gamer or a hardcore enthusiast, understanding the components and how they work together is crucial. This guide will walk you through the essential steps of building your own gaming PC, from selecting the right parts to assembling them.
Understanding Your Needs
Before diving into the specifics of parts selection, it’s essential to assess your gaming needs. Consider the types of games you play and their system requirements. For instance, if you enjoy graphically demanding titles like Cyberpunk 2077 or Red Dead Redemption 2, you’ll need a powerful GPU and CPU.
Additionally, think about your budget. Gaming PCs can range from a few hundred to several thousand dollars, depending on the components you choose. Setting a budget early on can help you make informed decisions and avoid overspending.
Lastly, consider future-proofing your build. Investing in slightly better components now can save you the hassle of upgrading in just a year or two. Aim for parts that will remain relevant for years to come.
Choosing the Right Components
The heart of your gaming PC is its components. Here’s a breakdown of the main parts you’ll need:
1. Central Processing Unit (CPU): The CPU is the brain of your PC. Look for models that offer good performance for gaming, such as AMD’s Ryzen series or Intel’s Core i5 and i7 processors.
2. Graphics Processing Unit (GPU): The GPU is crucial for rendering graphics in games. Brands like NVIDIA and AMD offer a range of options that cater to different budgets. For high-end gaming, consider the NVIDIA GeForce RTX 3070 or the AMD Radeon RX 6800.
3. Motherboard: Ensure your motherboard is compatible with your CPU and has adequate features such as enough RAM slots and USB ports. Look for motherboards with good reviews that fit your needs.
4. RAM: Aim for at least 16GB of RAM for gaming. If you plan on multitasking or streaming, consider upgrading to 32GB.
5. Power Supply Unit (PSU): A reliable PSU is essential to power your components. Choose a unit with a good efficiency rating (80 Plus Bronze or higher) and enough wattage to support your build.
6. Storage: An SSD can significantly improve load times in games compared to traditional HDDs. Consider a combination of SSD for your operating system and frequently played games, along with an HDD for additional storage.
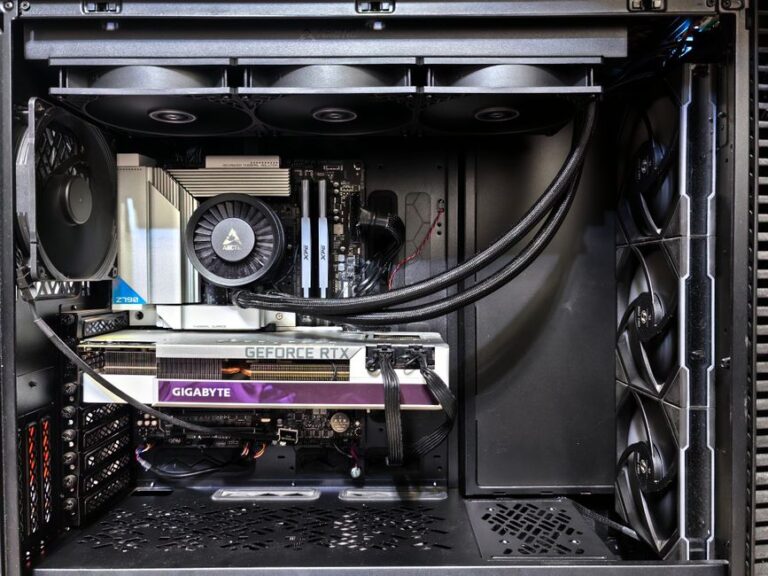
Assembling Your Gaming PC
Once you have all your components, it’s time to assemble your gaming PC. Start by preparing your workspace with adequate lighting and anti-static precautions.
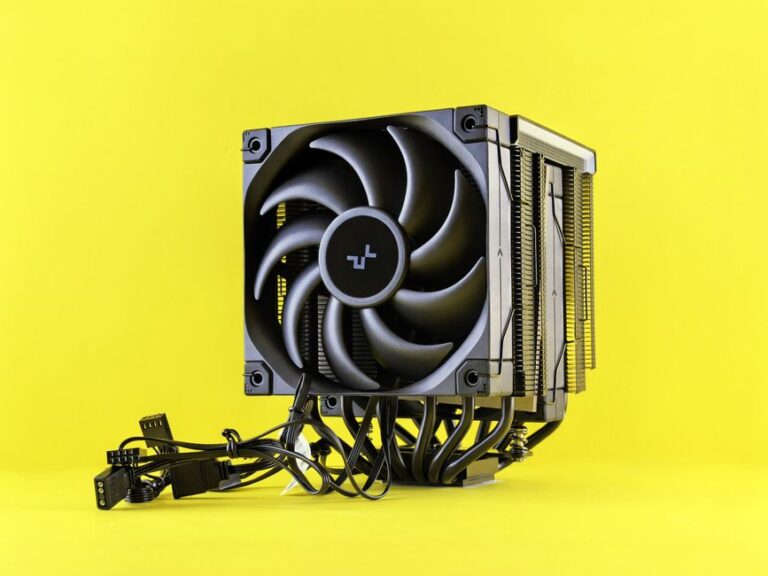
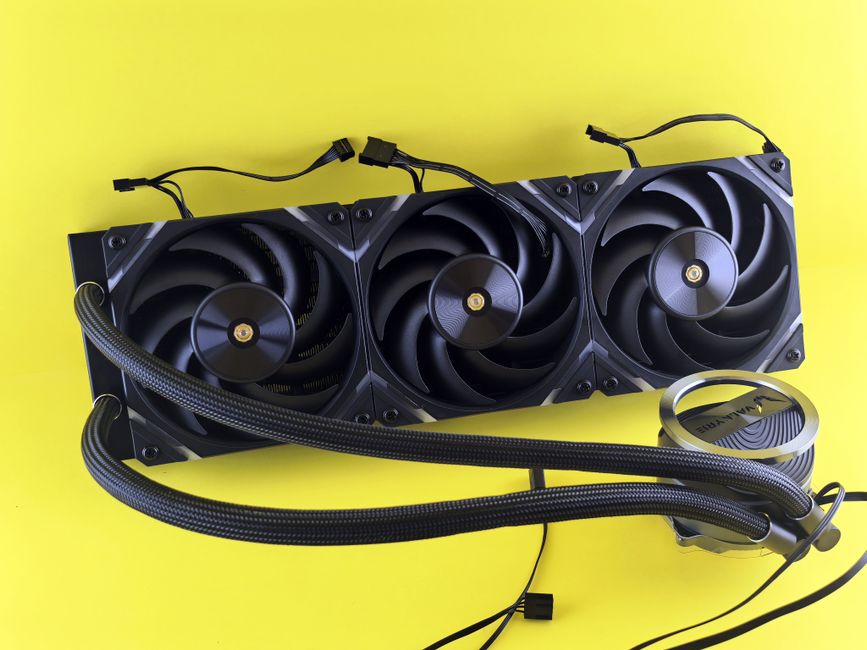
Begin with the motherboard by installing the CPU, RAM, and CPU cooler. Make sure to follow the manufacturer’s instructions carefully. Then, mount the motherboard into the case.
Next, install the GPU in the designated PCIe slot and connect it to the PSU. After that, add your storage drives and ensure all cables are connected correctly. Finally, double-check all connections before powering on your system.
If you’re unsure about any step, consider watching video tutorials or consulting online forums. Many communities are eager to help newcomers navigate the building process.
Installing the Operating System and Drivers
After successfully assembling your gaming PC, the next step is installing the operating system. Windows is the most popular choice among gamers, but Linux is also an option for those who prefer it.
Once the OS is installed, it’s crucial to update your drivers, especially for the GPU, as they can significantly impact gaming performance. Visit the manufacturer’s website for the latest drivers, and consider using software like GeForce Experience or AMD Radeon Software for easy updates.
Finally, install your favorite games and benchmarking software to test your new rig’s performance. This is a great way to ensure everything is working correctly and to get a feel for how your new gaming PC handles demanding titles.
Maintaining Your Gaming PC
Once your gaming PC is up and running, it’s important to keep it in good condition. Regular maintenance will extend the lifespan of your components and ensure optimal performance.
Start by cleaning your PC regularly to prevent dust buildup. This can be done by using compressed air to blow out dust from vents and fans. Additionally, monitor your system temperatures and performance using software tools to ensure everything is running smoothly.
Lastly, keep your software updated, including your operating system and games. Regular updates often include performance improvements and security patches that are vital for a smooth gaming experience.
For those looking to customize their builds further, consider exploring online resources, including a gaming PC builder that can help you compare parts and find the best deals.
Conclusion
Building your own gaming PC can be a rewarding experience that not only saves you money but also allows for a personalized setup that meets your specific gaming needs. By understanding your requirements, carefully selecting components, and following proper assembly and maintenance techniques, you can create a powerful machine that will enhance your gaming experience for years to come.